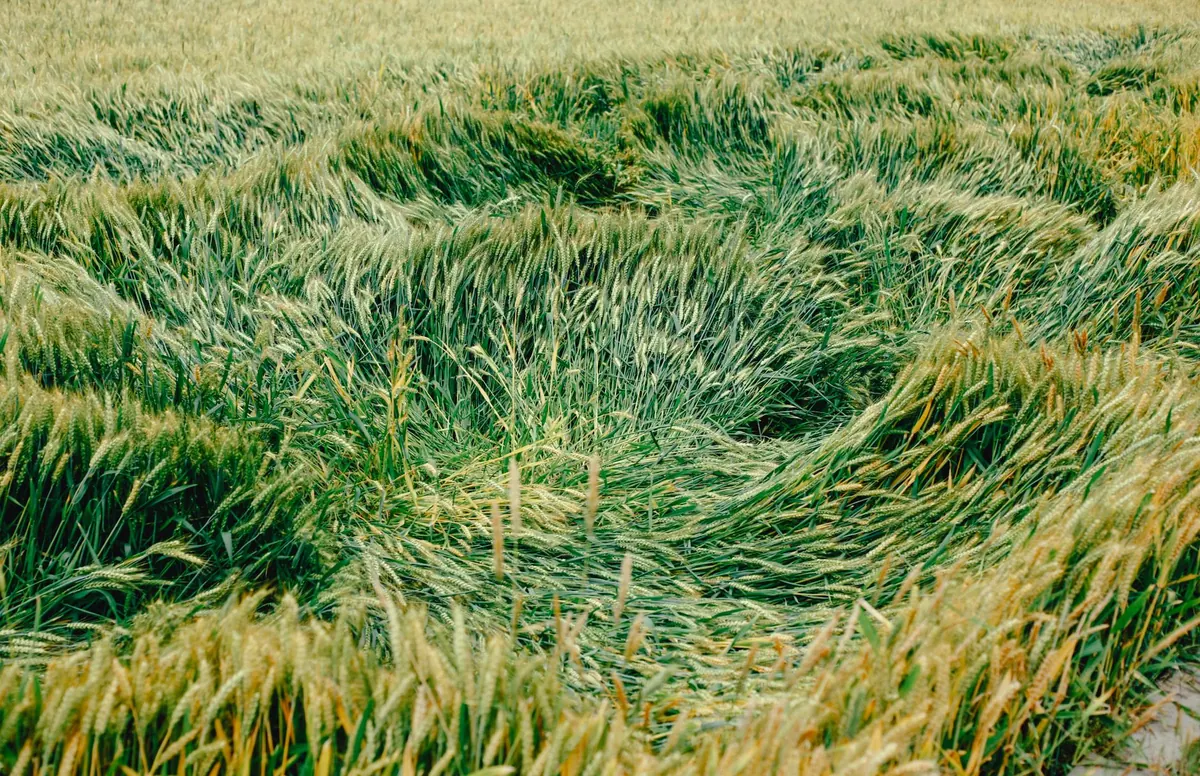
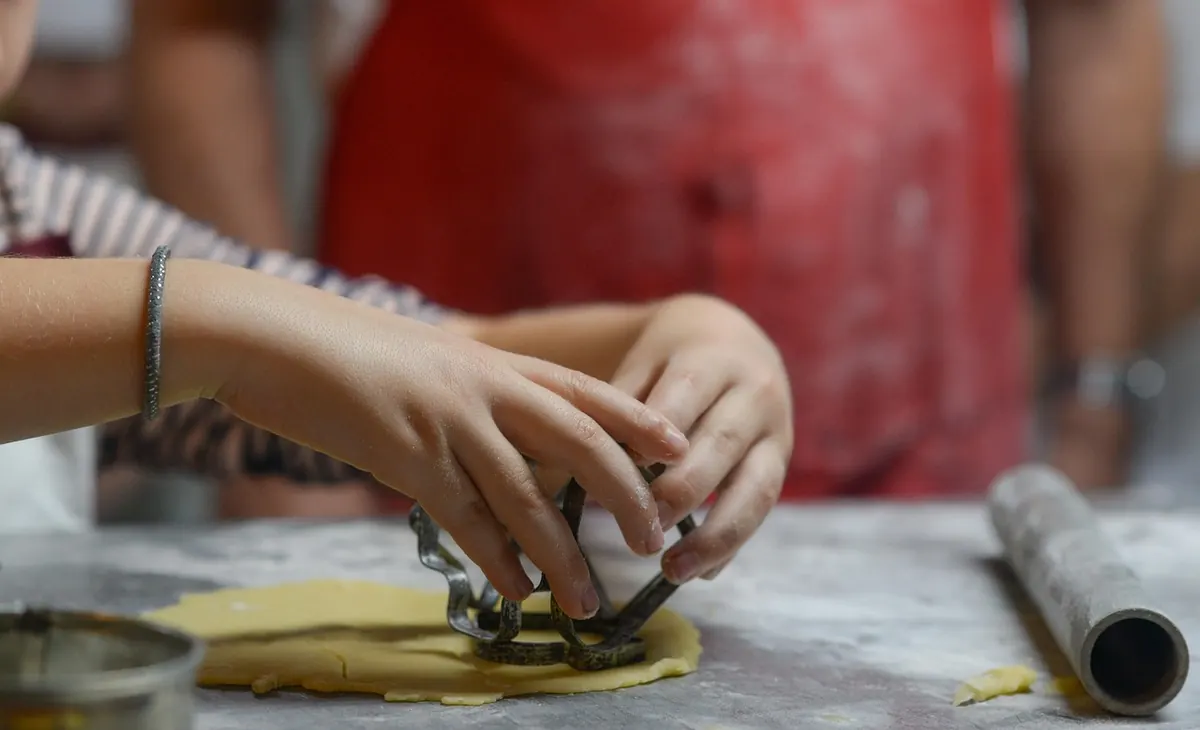
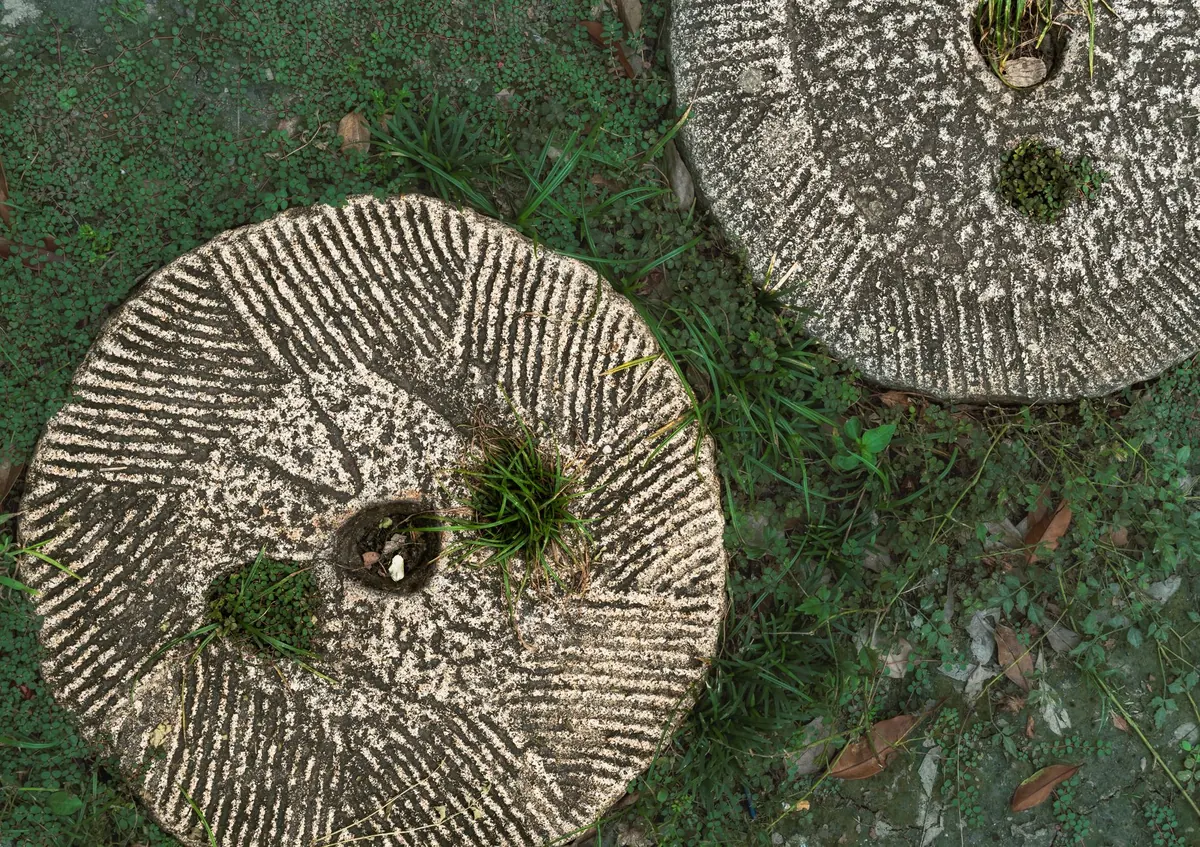
How to Build a Wheat Story Walk for Your Village Festival
A wheat story walk works because it is simple. A few panels along a lane, a millstone by a gate, a recipe card pinned inside a bus shelter, and suddenly the village is telling its own story. The walk does not need actors in costume or a sound system. It needs local detail, a clear route, and stops that give people something to look at, read, and remember. Build it well once and it can return every harvest festival with modest repairs and a fresh layer of stories.
Begin with the memories that already live in the village
Before you design a single sign, collect material. The best wheat stories are rarely in books; they are in kitchens, workshops, church porches, and the backs of cupboards. Ask broadly and listen closely. A retired baker may remember the smell of the oven being lit at dawn. A farmer may have a worn scoop for seed. Someone’s grandmother may have kept a recipe written in handfuls and pinches rather than grams. These are the fragments that make a trail feel rooted.
Set up a simple collection session in the village hall or pub, and invite people to bring one object, one photograph, or one memory. Record names and permissions. If you photograph a family recipe, note who owns it and how they want it credited. A short written permission form is enough for most village projects, but check with your local heritage or community group if you are unsure.
- Field work and harvest memories: first cutting, gleaning, school harvest holidays, weather lore.
- Milling and transport: sacks, carts, millstones, railway sidings, local mill names.
- Baking at home: ovens, bread boards, proving bowls, Sunday loaves, festival breads.
- Shop and bakery life: queues, deliveries, wrapped loaves, early shifts.
- Hard times and plenty: rationing memories, harvest suppers, shared baking, waste and thrift.
- Sounds and smells: the chaff in the air, the mill hum, the oven door, the first slice warm.
You do not need to use everything. Choose eight to twelve strong fragments and let the rest wait for next year. A trail with too much text exhausts people. A trail with a few vivid details invites conversation.
Choose a route that fits the village
A good wheat walk lasts about forty-five to seventy minutes at an easy pace. Six to eight stops are usually enough. Start somewhere obvious, such as the village green, the church gate, or the car park, and end near a bench, a café, or the festival field. If the route can loop, do it; walkers dislike retracing a long lane. Check the ground in wet weather, the width of gates, and whether a pushchair or wheelchair can manage the surface. Offer a shorter accessible version on the map, even if it skips two stops.
Walk the route at the same time of day as the festival. Notice where the sun glares on a sign, where traffic makes reading difficult, and where a story panel would block a driveway. Ask permission before placing anything on private land, and keep stops away from working machinery and livestock. Wayfinding should be quiet but clear: a painted arrow, a small numbered marker, a map at the start with the full route and a “you are here” dot.
Give every stop one clear job
Each stop should do one thing well. It might explain a tool, hold a bread memory, mark a view across a field, or ask a question. Avoid turning every panel into a history lecture. A useful rule is one object, one short story, one invitation to look or remember.
A simple stop template
- Title: a plain, local phrase, such as “The Seed Scoop” or “Bread for the Week.”
- Object or image: a tool, photograph, map extract, or recipe card, safely displayed or reproduced.
- Story: sixty to ninety words in direct language, with names and places where permission allows.
- Look: a prompt such as “Find the worn edge on the handle” or “Notice the old oven arch behind you.”
- Remember: a question that connects the stop to the visitor’s own family, such as “What bread did your household eat on Sundays?”
- Move on: a small arrow or line that sends people to the next marker without confusion.
Keep the text at a comfortable reading height and use a large, dark typeface. If you include a photograph, print it at a size people can actually see. A single strong image often carries more than three paragraphs.
Make the trail easy to build and repair
Village festivals are hard on paper and timber. Use materials that can survive a shower and be replaced without drama. Laminated cards in wooden frames, painted boards with removable printed sheets, or simple A-frame stands can all work. Number each panel on the back so volunteers know where it belongs. Keep a box with spare screws, cable ties, cloths, and a roll of laminate at the festival base.
Do not make the walk depend on a phone. A printed map and clear panels are more welcoming, especially for older visitors and families with children. A QR code can be an extra, not the only way in. If you do use one, test it on several phones and make sure the page opens quickly. Put a contact number or a “return to start” note on the map for anyone who loses the route.
Weave in tools and bread memories
Tools give a walk its texture. A flail, a sickle, a seed drill, a flour scoop, a baking peel, a dough trough: each one is a small doorway into work. Label tools with their local names as well as the standard ones. If an object is too valuable or fragile to display outdoors, use a photograph and keep the original indoors with a note saying where it can be seen. Never leave sharp or heavy tools where children can reach them.
Bread memories need care and a little humour. A panel that says “Bread was never wasted” is less engaging than one that explains how stale crusts became a pudding or how a farmer’s lunch was wrapped in a cloth. Invite visitors to add their own memories at a “bread memory table” near the end of the walk. Provide cards, pencils, and a box. Ask people to write one sentence and whether they are willing for it to be shared. If you offer tasting, keep it simple, label ingredients, and follow local food hygiene advice; check allergies and avoid anything that has been sitting out.
Rehearse the walk before the festival
Run the trail with a small group a week or two before the event. Give them a map and a notebook. Ask them to mark where they slowed down, where they got lost, and which stop they remembered afterwards. Time the walk. If it takes much longer than planned, cut text rather than adding more signs. Brief your volunteers: one person at the start to hand out maps, one roving helper on the route, and one at the final stop to collect cards and answer questions.
On the day, open with a short welcome at the first stop. Say how long the walk takes and where it ends. Keep a simple feedback sheet at the last stop: three lines for what worked, what confused people, and what stories should be added. That sheet is more useful than a long survey.
Keep the walk alive after the festival
Take the panels down carefully and store them somewhere dry. Photograph every panel and keep a digital folder with the text, permissions, and images. Send a thank-you note to everyone who lent an object or shared a memory, and tell them where their story appeared. If the route can stay up for a few weeks, leave a short version with fewer panels and a weatherproof map at the start.
Next year, do not start from zero. Read the feedback, replace two weak stops, and add one new memory from the bread table. A wheat story walk grows best in small layers. The village does not need a grand production; it needs a route that people can follow, stories they recognise, and a reason to walk it again.
Photo: Nguyen Ngoc Tien / Pexels