Common Mistakes When Milling Wheat at Home and How to Fix Them
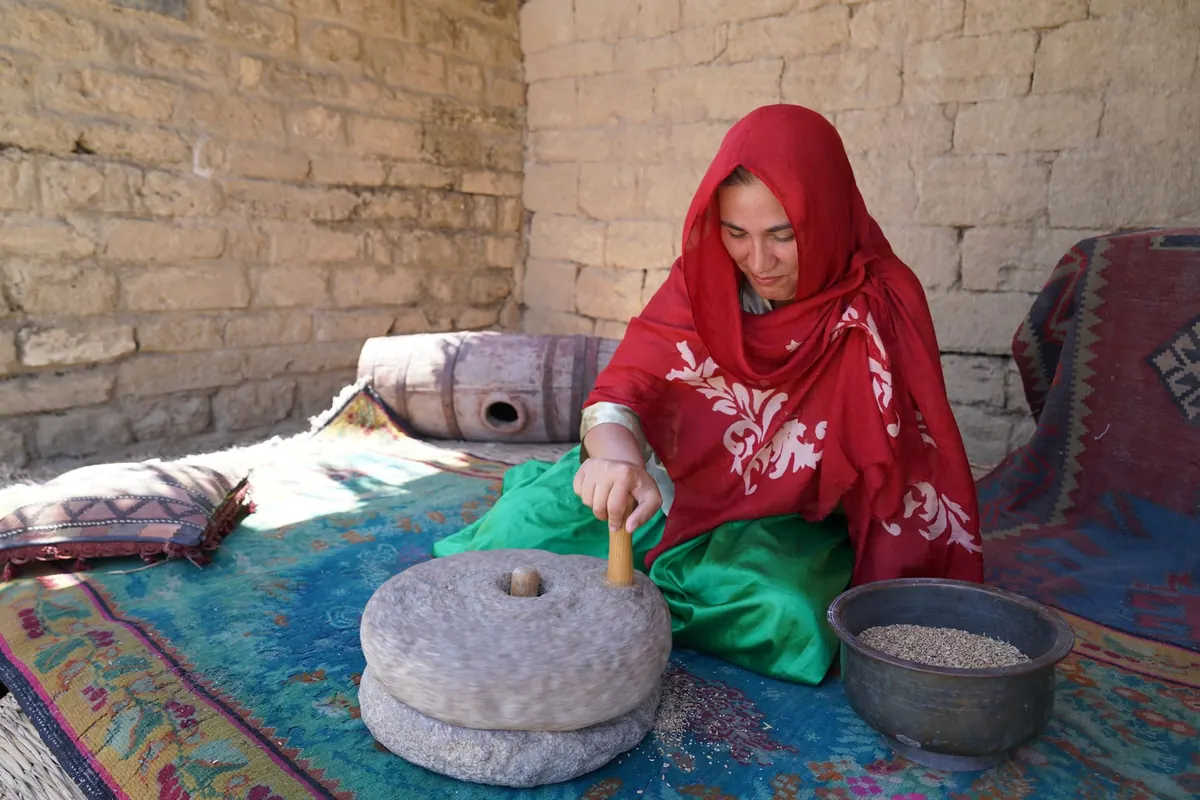
Fresh flour has a smell that surprises people the first time: sweet, slightly grassy, closer to a hayfield than a supermarket shelf. Then something goes sideways. The loaf comes out dense, the flour feels warm in your hand, or a batch that was perfect last month suddenly tastes like the inside of a cupboard. Home mills are simple machines, and most of their failures are simple too. Almost nothing that goes wrong at the mill is permanent, and nearly all of it traces back to speed, heat, settings, or time on the shelf.
The Flour Comes Out Warm, and Warm Is the Warning
Friction is the price of grinding. Two burrs or stones pressing hard against grain generate heat, and that heat goes straight into the flour. A little warmth is normal. Flour that feels hot against your palm, or that steams faintly when you open the lid, means the mill was working harder than it should have.
Heat matters because whole-grain flour carries the germ, and the oils in the germ are delicate. Warm flour loses its fresh flavor faster, and the same heat that warms your hand also works against the qualities that made you start milling in the first place. You do not need a thermometer to catch this. Your hand is enough.
Here is what overheated flour usually looks and feels like:
- The flour is noticeably warm or hot to the touch right after milling
- The smell turns sharp or faintly metallic instead of sweet and grassy
- The flour clumps slightly, or the mill's lid has condensation on it
- Bread baked from it tastes flat, even when the crumb looks fine
The fix is usually about pace, not equipment. Mill in smaller batches and give the machine a break between them; most home mills are rated for a certain number of minutes of continuous running, and that number is lower than people assume. Feed the grain more slowly. Hard wheat takes more effort to grind than soft wheat or rye, so reduce your batch size when you switch. If your mill has a speed control or a fine/coarse setting, grinding on the finest setting in one pass pushes the burrs together hardest; starting coarser and finishing finer keeps temperatures down. And once the flour is milled, get it cool quickly: spread it on a tray for a few minutes, then refrigerate or freeze what you will not use within a week or two.
Uneven Grind, Gritty Flour, and the Feed-Rate Habit
Run a pinch of flour between your fingertips. It should feel like fine sand at worst, powder at best, with no hard specks. If you feel grit, or if a sieve leaves a stubborn layer of coarse particles behind, the grind is uneven.
The most common cause is feeding too fast. Grain that enters the burrs quicker than they can cut gets pushed through in fragments. Slow down and see whether the problem disappears before you touch any adjustment. Damp grain is the second cause: it smears and clogs rather than shattering cleanly. Worn burrs or stones are the third, and they tend to announce themselves gradually, with the mill sounding louder and taking longer for the same amount of grain.
Adjust in small steps. Turn the setting a fraction at a time, run a small handful of grain through, and check the result rather than trusting the dial. Follow your manufacturer's guidance on whether the mill should be running or stopped during adjustment; stone mills and burr mills differ here, and forcing a setting against the manual is a fast way to damage the plates.
Milling Once and Calling It Done
One pass rarely gives you the flour you want, especially with hard wheat. A better approach is two-stage: crack the berries on a coarse setting, then run the cracked grain through again on a fine one. The burrs do less work per pass, the flour stays cooler, and the result is more consistent. If you sift your flour, keep the bran that stays in the sieve, regrind it separately, and sift again. You will recover a surprising amount of usable flour.
Then let the flour rest. Freshly milled whole wheat can be tight and thirsty straight from the mill; give it a few hours, or overnight in the refrigerator, before mixing. Doughs made with rested flour hydrate better and behave more predictably.
Storage Mistakes That Flatten Flavor
Whole-grain flour is not a pantry staple in the way white flour is. The germ oils go rancid, and they do it faster than most people expect. A jar of home-milled flour left in a warm cupboard for a month will taste bitter and slightly soapy, and no amount of good baking will cover it.
A few rules keep the flavor intact:
- Mill what you will use. Two to three weeks of flour is a sensible ceiling for room-temperature storage.
- Freeze the surplus. Airtight container, freezer, and let it come to room temperature before you bake with it so it does not chill your dough.
- Label everything with the grain and the date. Rye and wheat look alike in a jar at dusk.
- Keep flour out of the mill's hopper. Empty it after every session; hoppers are for grain going in, not flour sitting around.
- Store berries, not flour, for the long term. Whole grains keep far longer than ground flour, which is the whole argument for owning a mill.
Watch for pantry moths too. They get into grain and flour alike, and once established they are tedious to remove. Freeze new grain for a couple of days before storing it, and keep everything in sealed containers rather than paper bags.
The Grain Itself: Moisture, Hardness, and Dirt
Grain that is too damp clogs the mill and produces a coarse, pasty grind. Grain that is too dry shatters into dust, generates more heat, and bakes into a weaker dough. You can get a rough read by biting a berry: it should be hard and clean-tasting, not soft or chewy. If you buy from a farm or a bulk bin, ask about moisture and store the grain somewhere dry and stable rather than next to a kettle or a radiator.
Clean grain matters more than it seems. Small stones and grit dull burrs, and a stray pebble can chip a stone. Inspect what you pour into the hopper, and pick out anything that is not a berry. Never wash your burrs or stones with water; brush them out with a dry brush and follow the manual for anything deeper.
A Five-Minute Check That Saves a Batch
Before you blame the recipe, run through the mill. Feel the flour: cool is right, hot is not. Rub a pinch between your fingers and look for grit. Smell it, because your nose catches rancidity long before your tongue does. Check the date on the jar you are about to use. Then note what you did: grain, setting, batch size, how long the mill ran. A small notebook turns guesswork into a record, and after three or four sessions you will know exactly which settings your mill likes for wheat, rye, and spelt.
Most home milling problems are not failures of equipment but of pace. Slower feeding, smaller batches, a second pass, and a freezer bag labelled with a date will fix the majority of them. The flour that comes out cool, even, and sweet-smelling is worth the extra few minutes it takes.
Photo: Tahir Xəlfəquliyev / Pexels